Simple Label Microscope Worksheet Activity for Kids
Published:
October 31, 2024

Contributor:
Sarah Shelton
Disclosure: This post may contain affiliate links, meaning if you decide to make a purchase via my links, I may earn a commission at no additional cost to you. See my disclosure for more info.
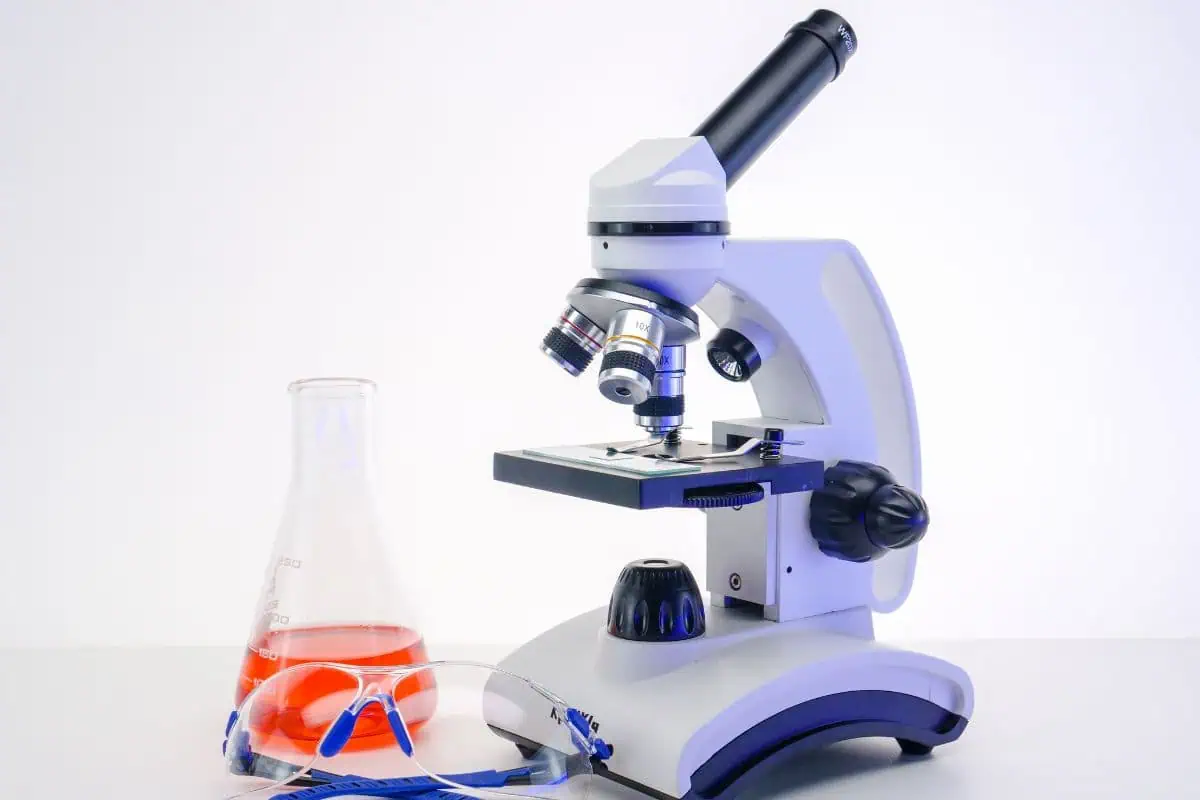
Once your children start taking upper level Science with labs they will need to become familiar with a microscope and how it works. Make sure you grab our easy-to-use label microscope worksheet activity and unit study to use with any microscope lesson plan for your science students.
What are the main parts of a microscope and their functions?
The three main structural parts of a microscope include the head, arms, and base. The head carries the optical parts in the upper part of the microscope. The base of the microscope is the support piece of the microscope and carries microscopic illuminators. Finally, the arm connects the base to the head and the eyepiece tube.
The Different Parts of a Microscope Include:
Eyepiece
The eyepiece is also known as the ocular lens. The eyepiece lens is the part used to look through the microscope and it is found at the top of the microscope. Standard magnification is 10x. The eyepiece tube holds the eyepiece.
Objective Lens
The objective lenses are the major lenses used for specimen visualization. The different objective lenses have a magnification power of 40x-100x. There are 1-4 objective lenses on each microscope and each lens has its own magnification power. The nose piece holds the objective lenses and it is movable.
Adjustment Knobs
These are the knobs that are used to focus the microscope. There are two types of adjustment knobs – the fine adjustment knob and coarse adjustment knob. The coarse focus knob is for initial or general focus. Then, the fine focus knob allows a slow but precise control to fine focus the image when viewing at the higher magnifications.
Stage and Condenser
The stage is the section on which the specimen is placed for viewing and includes metal clips. These stage clips hold the microscope slides in place. The microscope stage has a hole, called the aperture, through which the transmitted light from the source reaches the stage.
The microscopic illuminator is the light source located at the base. It is used instead of a mirror. The condenser are lenses that are used to collect and focus light from the illuminator into the specimen. They play a major role in ensuring that clear, sharp images are produced with a high magnification of 400x and above.
How Light is Controlled
The light is controlled by the diaphragm, condenser focus knob, and abbe condenser. The diaphragm is also known as the iris and it’s found under the stage of the microscope. The primary role of the diaphragm is to control the amount of light that reaches the specimen.
The condenser focus know moves the condenser up or down to control the focus of light. High quality microscopes will have an abbe condenser which allows very high magnification above 400x.
What are the Different Types of Microscopes?
There are many different types of microscopes. Not all of these are suited as type of microscope for homeschool high school use, but it is important to learn about them, especially if you have a child going into the science field.
1. Stereo Microscopes
A stereo microscope lets you see small objects in 3D at low magnification, which means you can observe surface details up close. It’s used for examining things like insects, plants, and small parts, which is helpful in biology, electronics, and hobbies that need a detailed view.
2. Compound Microscopes
A compound microscope uses multiple lenses to magnify very small objects, like cells and bacteria, in high detail. It’s commonly used in science labs and classrooms to observe details that are too small to see with the naked eye, often at magnifications from 40x to 1000x.
3. Optical Microscopes
An optical microscope uses light and lenses to magnify tiny objects, making them easier to see. High-power objectives can offer magnification of up to 1000x. It’s commonly used to look at things like cell walls, plant tissue, or small organisms in science labs, classrooms, and medical fields.
4. Inverted Microscopes
An inverted microscope has its light source and lens below the stage, looking up at the sample. This design allows scientists to examine living cells in liquid, which is helpful in biological research, especially with larger samples like petri dishes or culture flasks.
5. Metallurgical Microscope
A metallurgical microscope is designed to examine the surface structure and composition of metals and other solid materials. It uses reflected light and can have a high power objective for detailed viewing. It is used for viewing samples such as metal alloys, ceramics, and crystals. This type of microscope is widely used in manufacturing and quality control.
6. Electron Microscopes
An electron microscope uses a beam of electrons, rather than light, to magnify objects at a much higher resolution. This allows for extremely high detail, often exceeding 1,000,000x! Scientists are able to see extremely small details, like the structures within cells, viruses, and even atoms. Electron microscopes are used in fields like biology, materials science, and nanotechnology.
How do You Identify the Parts of a Microscope?
The best way to identify parts of a microscope is to work with a microscope in your homeschool. Hands-on microscope work can help your children learn the function of each part and they will better understand the whole microscope.
Many libraries lend out science tools such as microscopes. So, if you don’t have your own, ask your local library if they have simple microscopes available for use, ask a friend or check out the options on Amazon.
How do you Label a Microscope?
As part of your science studies you can use the label microscope worksheet available in our unit study as well as the information in this post to talk through all the parts of the microscope with your kids. As you discuss the function of each piece, have them label the parts of a microscope on the printable. Once they have the microscope parts labeled, see if they can use the microscope to look at an image of the specimen.
Print and Go! Free Microscope Label Worksheet
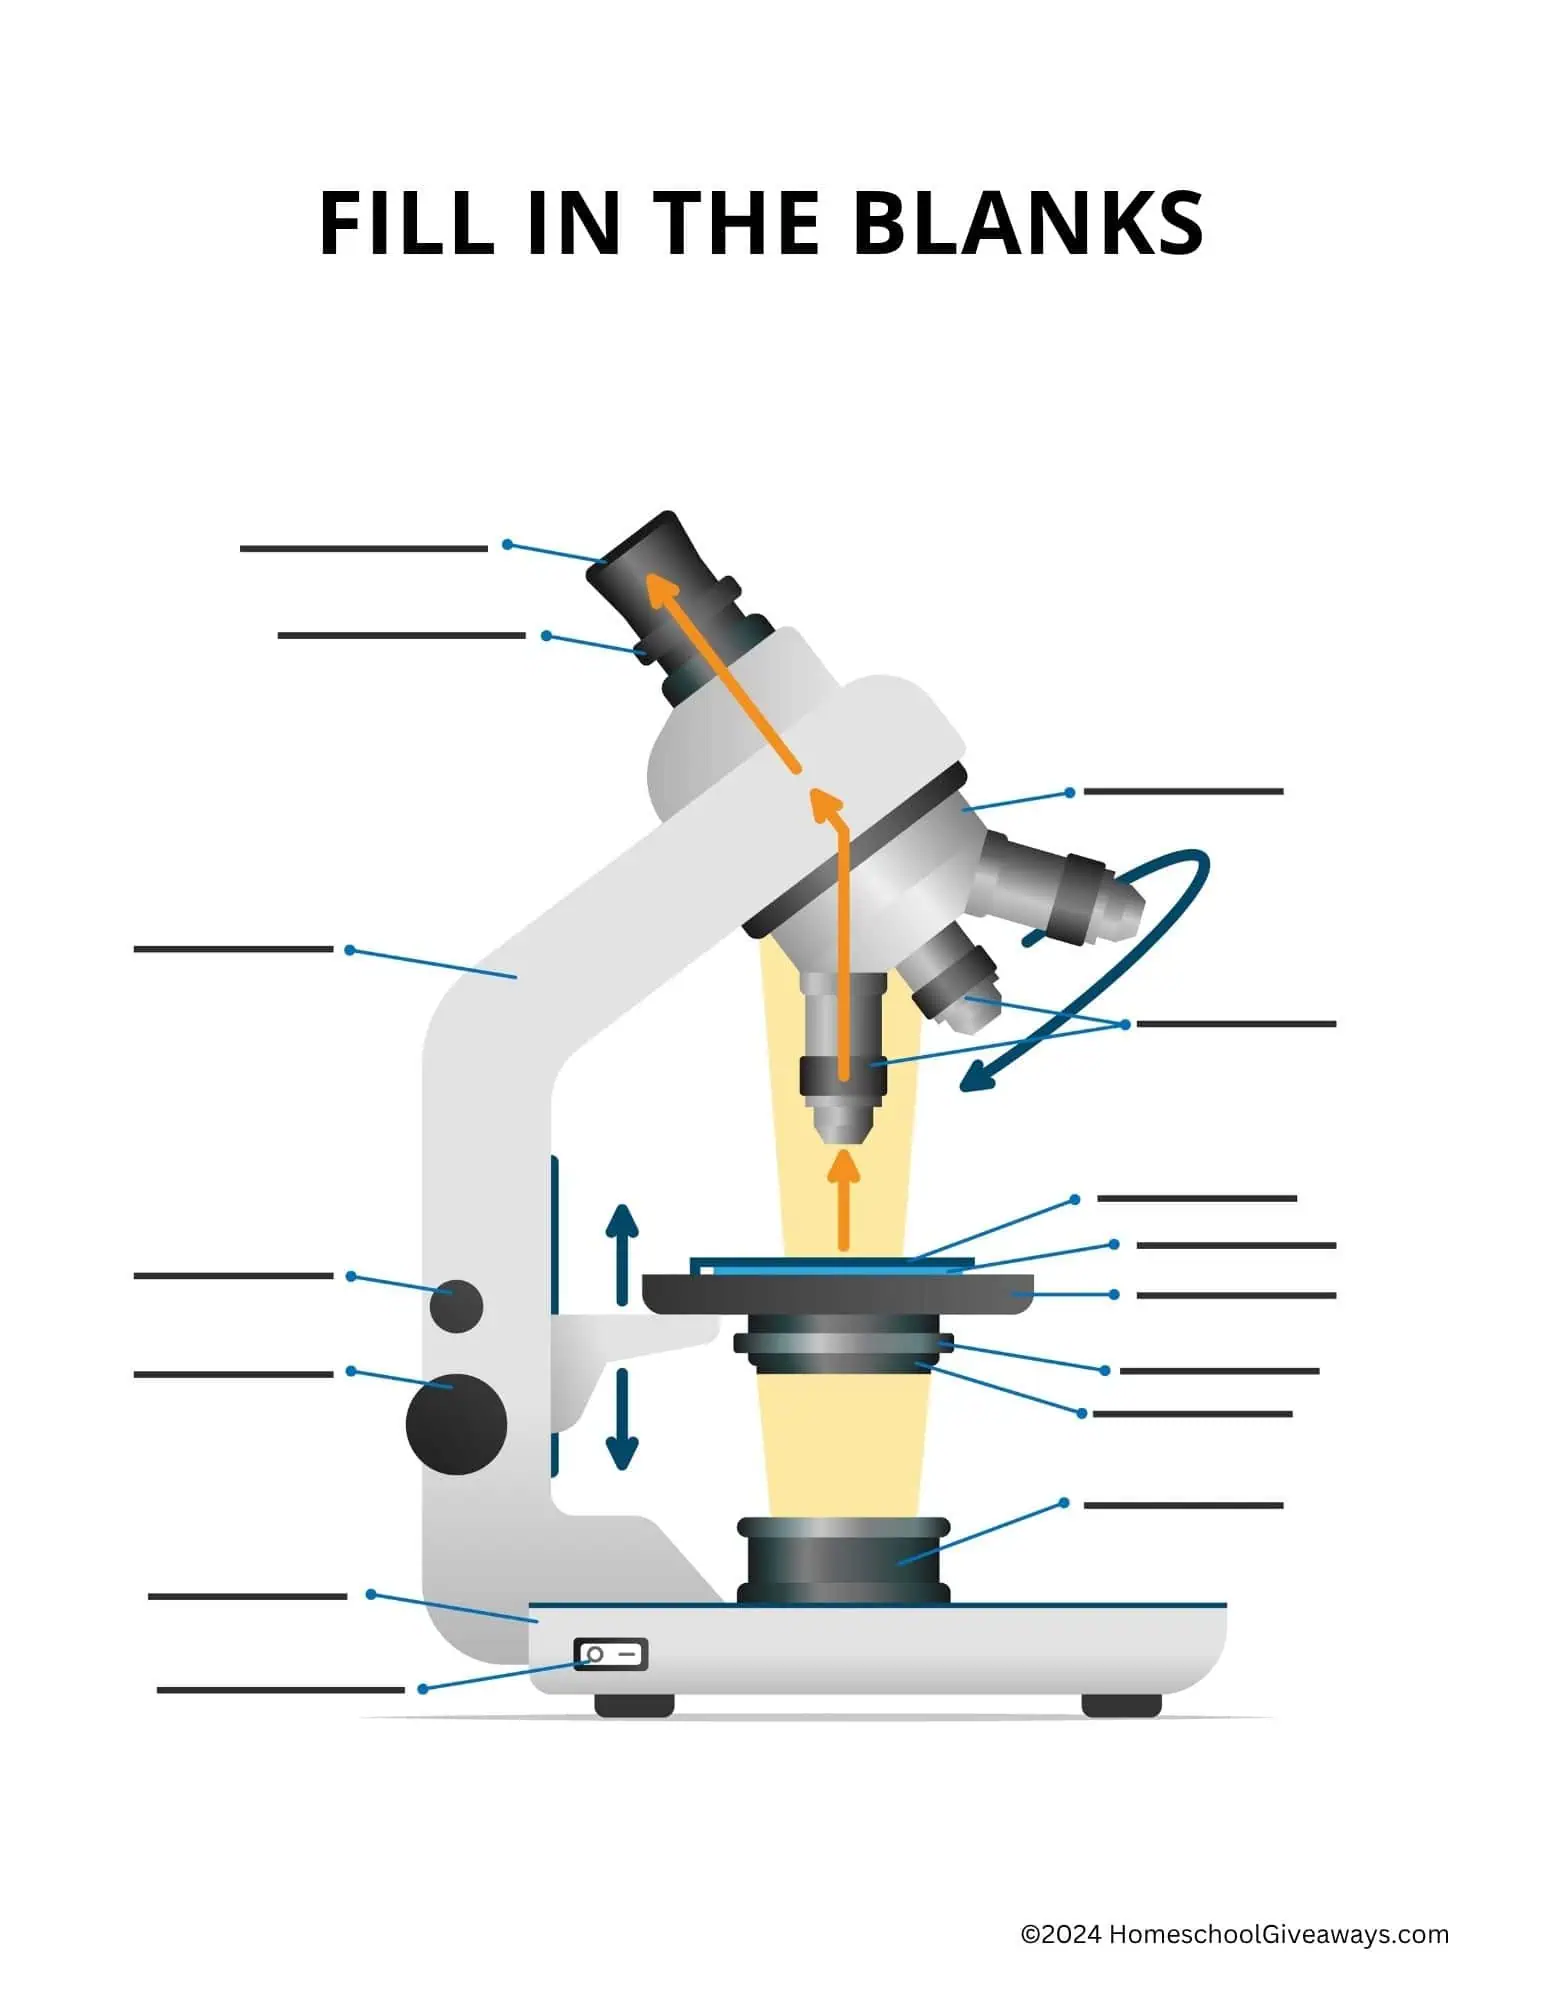
Fill in the Blank Microscope Worksheet
Give your students a hands-on way to learn the parts of a microscope with this fill-in-the-blank worksheet. This free preview is from our full Microscope Unit Study, which comes with a complete answer sheet so checking is a breeze. Perfect for curious kids ready to dive into science.
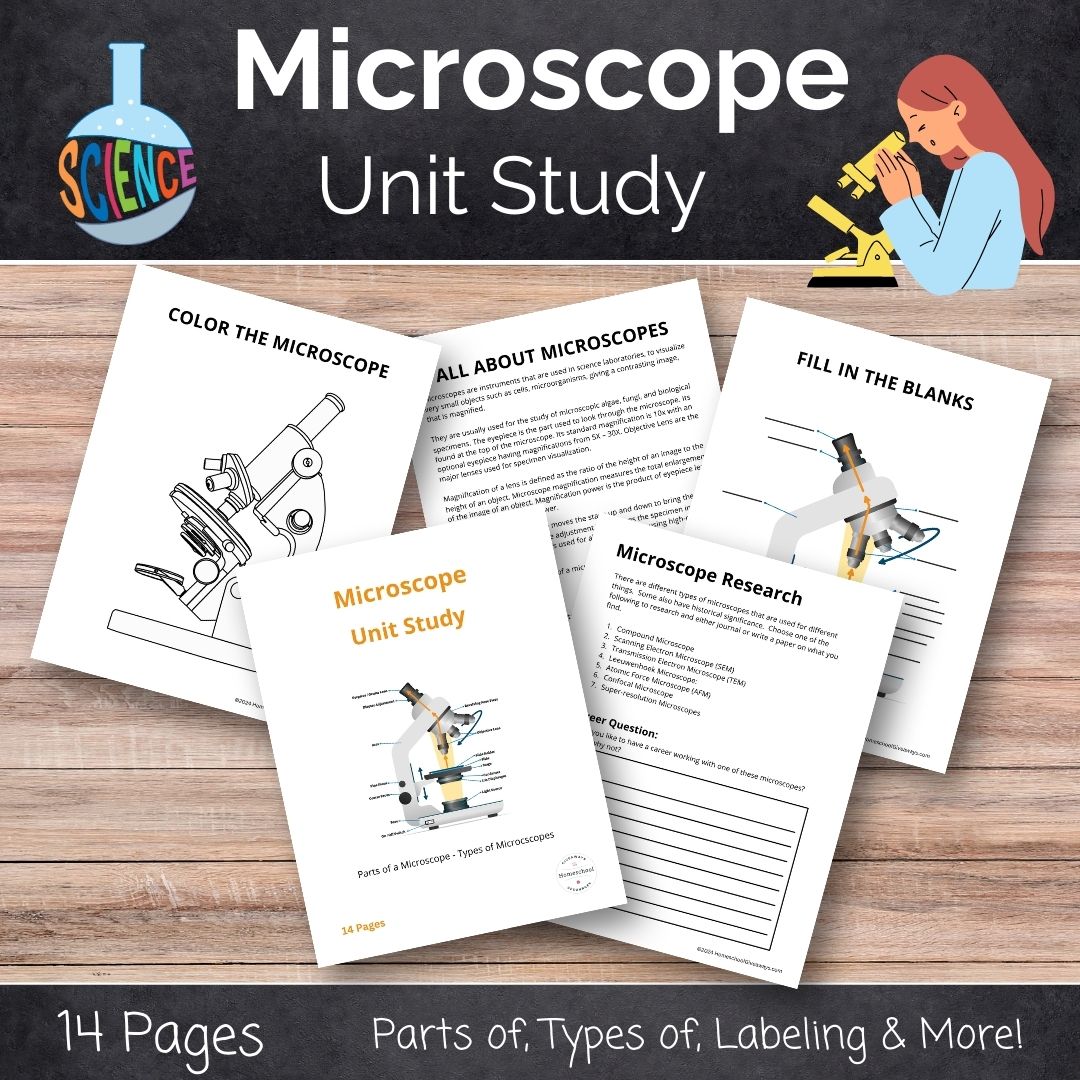
Microscope Unit Study
Microscopes can add a fun layer to your science lessons. Before you use one, however, learn about more about them with our microscope parts and use worksheets in this study.
Labeling a Microscope Game
A fun way to use our label microscope worksheet is to cut out the names of each part and make a game out of it! Put the word bank on the table with a blank diagram of the microscope and see how fast your kids can match up the correct term. You can even print out several of these labeling worksheets and let the kids race against each other to see who can do it the fastest.
Then, for review or a test, you can print out a fresh copy of the the label microscope worksheet and include a word bank if needed to see if your kids can remember each part.
Bacteria Project Idea
One extended microscope activity you can do with your kids is to analyze bacteria collected from different parts of the house. This might make some of your kids squeamish but it will show them how much we really can’t see with the naked eye.
So, let your kids predict where they think they’ll find the most bacteria. Then, collect specimens and examine them under the microscope.
For example, is the most bacteria from the inside your pet’s mouth, a toothbrush, or perhaps the bottom of a shoe?
Examine the slides each day and see if the bacteria continues to grow. Keep track of your hypothesis and record the daily results. The results might surprise you!
What Specimens to Use with a Microscope
Spend a day collecting some specimens from around the house or around the yard. Your kids will be amazed when they take a closer look at the microscope image!
Here are some specimens you can collect at home and look at under the microscope:
- cheek cells
- animal cells
- onion skin
- yeast cells
- mold
- eggshell membrane
- pond water micro organisms
- pollen
- soap foam
- salt, sugar, and pepper
- leaf
- hair – human and/or pet
- fingerprint
Your kids will learn a lot by just using the microscope and exploring topics like the detailed structure of organisms, the properties of light, and the physics behind lenses and mirrors. Remember to have fun with it!
Benefits of Using a Microscope In Your Homeschool
There are so many benefits to including the microscope in our homeschooling.
- Increased sense of problem solving and critical thinking.
- Hands-on experience with scientific tools.
- Builds their scientific vocabulary by using words like: slides, mount and stain.
- Strengthens observation skills.
Final Thoughts on a Microscope Unit Study
Teach your children all they need to know about microscopes when you get our unit study printable pack. They will learn how to label the parts of a microscope and you’ll also have information pages, definitions and more to help expand your homeschool science studies.
You Might Also Like…
Sarah Shelton
Sarah is a wife, daughter of the King and Mama to 4 children (two homeschool graduates) She is a an eclectic, Charlotte Mason style homeschooler that has been homeschooling for over 20 years. She is still trying to find the balance between work and keeping a home and gardens. She can only do it by the Grace of God, coffee and green juice!