Give Your Furniture the Chalk-Paint Look for Half the Price
Published:
September 18, 2016

Contributor:
Sarah Shelton
Disclosure: This post may contain affiliate links, meaning if you decide to make a purchase via my links, I may earn a commission at no additional cost to you. See my disclosure for more info.

Chalk painted furniture is all the rage right now. You can purchase vintage style, shabby furniture that has been distressed and chalk painted at boutiques and antique shops for a small fortune! You could also find cool inexpensive pieces at thrift stores and purchase your own chalk paint to do it yourself for a lot cheaper. The problem with this for frugal gals like myself, is that the store bought chalk paint is really expensive and it ends up not being that great of a deal even for a DIY project.
I have read many different tutorials and watched videos online on how to use chalk paint. All of them seem to require a name brand chalk paint that costs $35 for one quart! The paint isn’t the only thing you need to purchase either. Since chalk paint is a flat finish it usually needs to be sealed with a wax of some sort. The clear or dark stained wax costs $25 a container. I think there is also some kind of special wax brush that runs in the $20 range as well! Now granted, the paint and wax is supposed to last a long time, meaning that you can use it on multiple pieces of furniture. This doesn’t change the fact that you are looking at $80 just to begin painting one piece of furniture.
I knew there had to be some other way to achieve this beautiful, boutique, magazine style look for much cheaper.
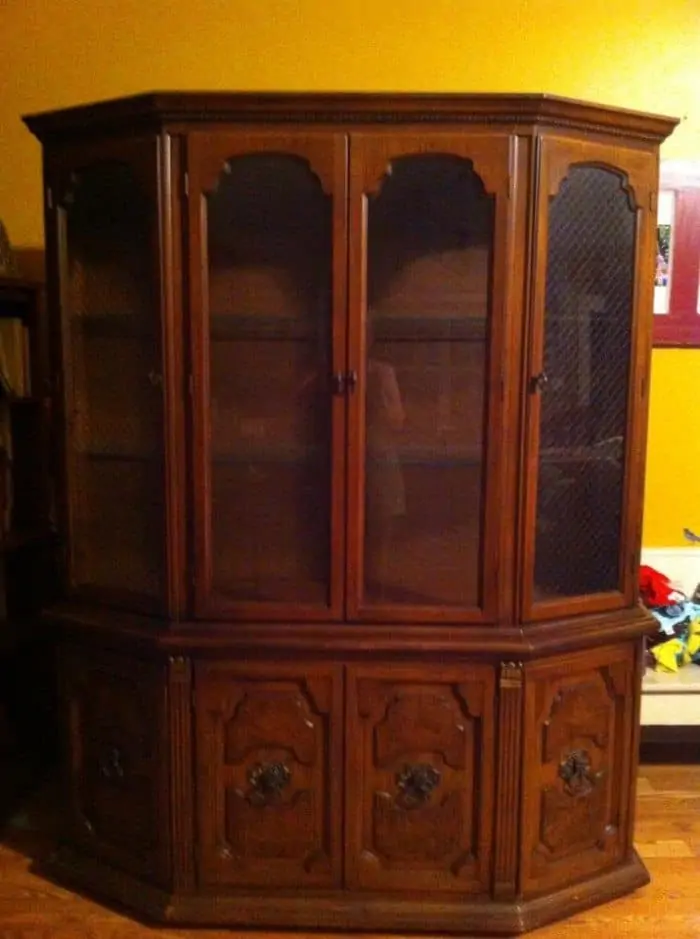
Before I tell you how I did it, let me show you my before and afters! I tackled a HUGE project for my first go at trying to achieve the chalk paint look.
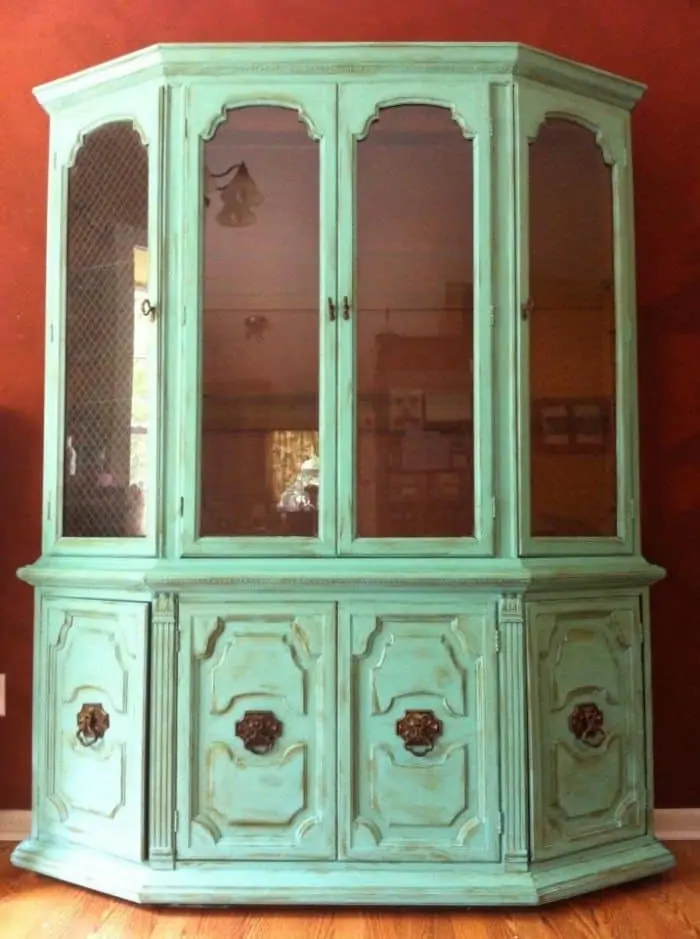 After: Light Turquoise Blue China Cabinet with dark wax stained “distressing”, that brings a splash of color to our living/dining room.
How to achieve this look for a fraction of the chalk-paint price:
Paint and Primer in one- flat finish:
The draw behind using chalk-paint is that there is no prep work needed like sanding. There are lots of new latex paints at your local home improvement store that have a primer and paint in one that boast the same thing. I figured it couldn’t hurt to try one of those paints, as you can get a quart of latex paint with primer in it for $10-15 a quart. Make sure you purchase the flat finish as chalk paint is extremely flat. I used the Glidden Duo brand from Home Depot, but any paint/primer in one should work fine.
Paint two nice thick coats:
There really is no prep work other than wiping any dirt and dust off of your piece. As you can see in the photo above this china cabinet had a dark, shiny finish to it and I didn’t even sand it. Use a thick paint brush and hand paint the entire thing nice and thick. The second coat is when I really make sure to make sure I am using even brush strokes.
Waxing your piece:
There are many online tutorials that show you how to wax your furniture. Basically you use a soft wax and “wax on, wax off” with a soft cloth. We used old cotton tank tops and old t-shirts. The more you buff, the shinier your piece will become, but you aren’t looking for a glossy finish, just something to offset the flat look and to protect your paint job.
I used Minwax Paste Finishing Wax, Natural Color – this comes out completely clear when it dries and is less than $10 a can!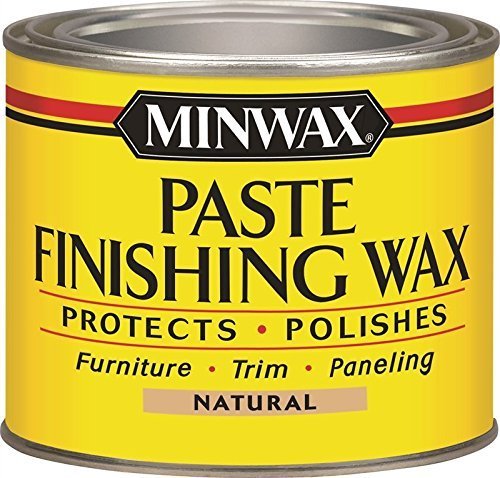
“Distressing” with a dark finish:
Instead of buying a separate can of dark wax which would have been another added expense, I decided to use shoe polish. I used Kiwi Brown Shoe Polish which was less than $6 a can (and will last forever)!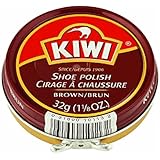
To apply it I used a Shoe Polish Brush which was a fraction of the price of a fancy wax brush! Only $6.00.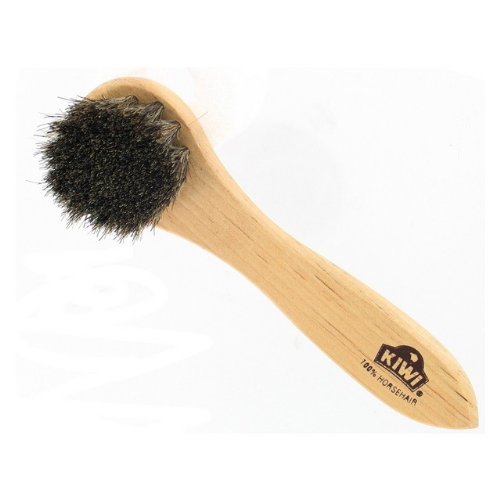
Dab the brush into the shoe polish and work it into any corners, crevices, or grooves that you would like to highlight. If you don’t have lots of detail on your piece you may sand it to rough it up a little, then apply the polish into the grooves of the sanded pieces.
Here is a close up showing the details: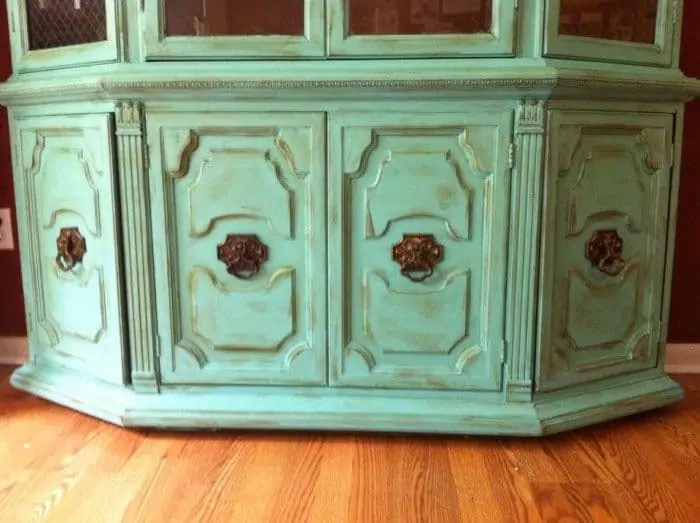 Total cost to paint this huge piece: Only $30.00! That is over half the savings of buying the expensive name brand chalk paint and accessories!
Special Note:
I have had this piece of furniture in the highest traffic area of my home. It has held up beautifully! None of the paint has come off at all. The only thing I have noticed is that the dark shoe polish isn’t as prominent as it was in the beginning, but that is probably due to all the dusting and cleaning (we use homemade vinegar cleaner to wipe it down with). The polish is super easy to reapply if you need to, but I still think it looks great!
Sarah Shelton
Sarah is a wife, daughter of the King and Mama to 4 children (two homeschool graduates) She is a an eclectic, Charlotte Mason style homeschooler that has been homeschooling for over 20 years.. She is still trying to find the balance between work and keeping a home and gardens. She can only do it by the Grace of God, coffee and green juice