Easy Baking Soda Volcano Science Experiment for Kids
Published:
August 16, 2025

Contributor:
Charis King
Disclosure: This post may contain affiliate links, meaning if you decide to make a purchase via my links, I may earn a commission at no additional cost to you. See my disclosure for more info.
Imagine a tiny mountain erupting right on your kitchen counter! That is exactly what a baking soda volcano lets you do. This hands-on experiment turns simple household ingredients into bubbling lava, sparking curiosity and excitement for kids of all ages.
Whether you are homeschooling, teaching in a classroom or just looking for a weekend adventure, this experiment is safe, simple, and perfect for kids of all ages. You can even grab our Print & Go Giveaway pages which includes materials and instructions so you can quickly gather what you need.
Materials You Will Need
Get ready to create your own baking soda volcano and watch science in action! Most of these are simple ingredients you probably have at home:
- Baking soda – the star that makes the reaction happen
- Vinegar – the liquid that makes the magic happen in your fizzing volcano experiment
- Food coloring – a bit of red food coloring (or any primary colors) to make lava fountains more exciting
- Dish soap (optional) – makes the lava frothy and gooey
- Small container, soda bottle, or plastic bottle – forms the core of your own volcano
- Tray, baking pan, or shallow dish – to catch the lava overflow
- Construction paper, manila envelope, paper towels and/or newspaper – to build a cone shape around the core and a sturdy structure
- Spoon, funnel, measuring cup and/or squeeze bottle – for pouring vinegar
- Optional extras: cups of water, tablespoons cooking oil, cups of salt, sand for a sand volcano or colored pencils to decorate your shield volcano
Fun tip: Use different colors to make each volcano eruption unique.
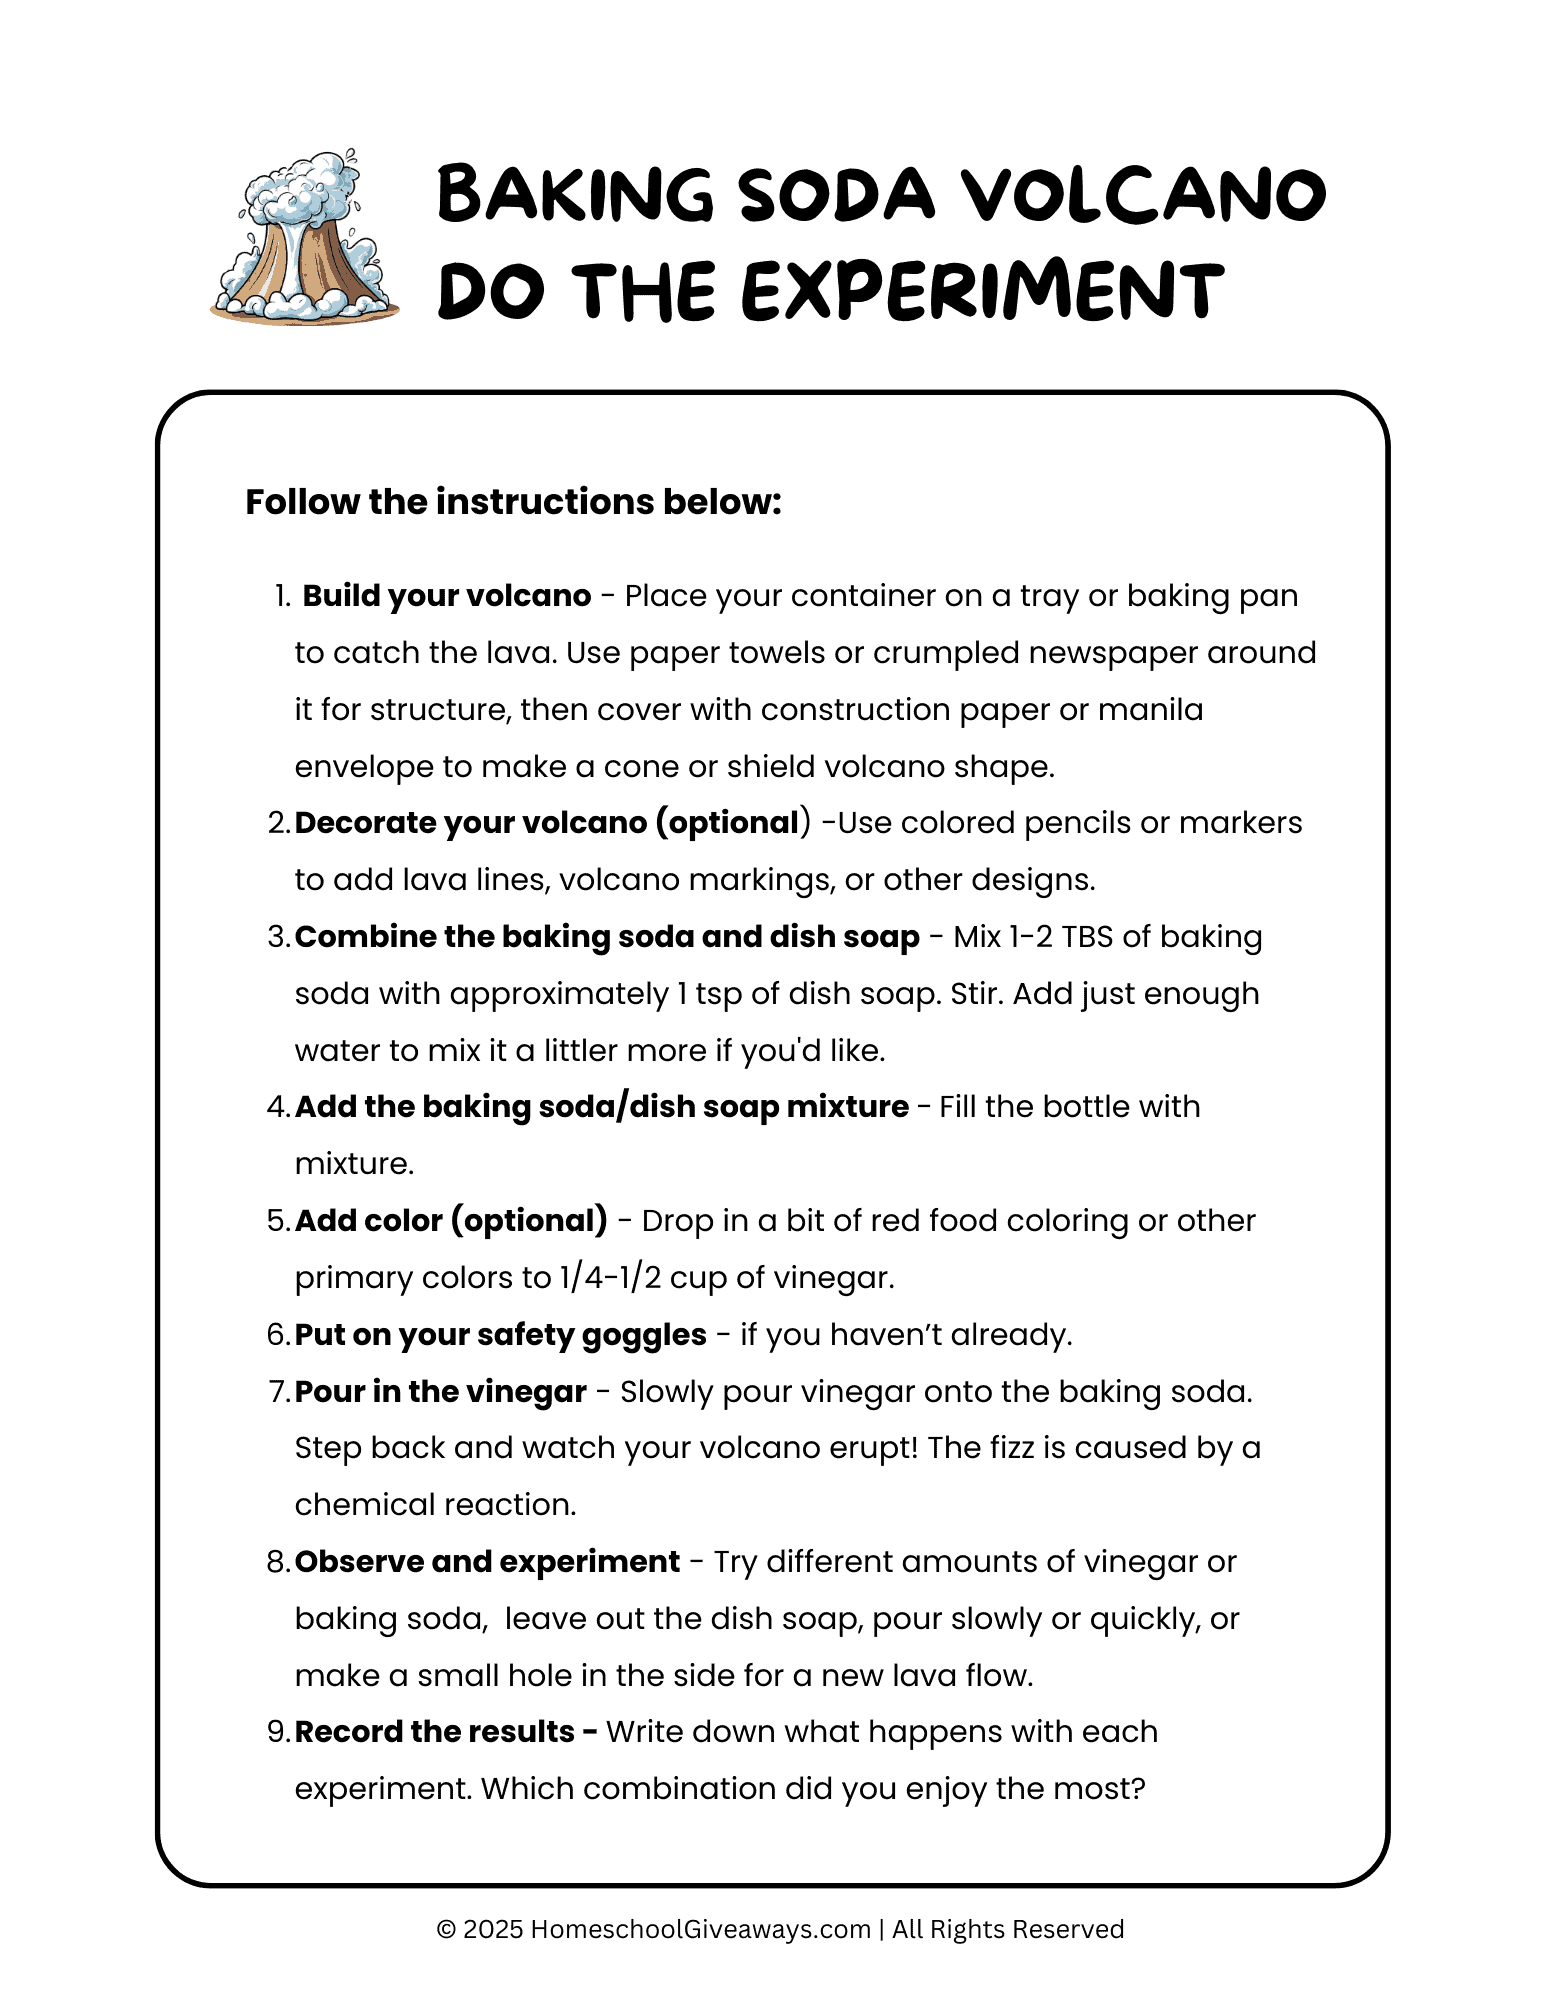
Baking Soda Volcano Step-by-Step Instructions
1. Build your volcano.
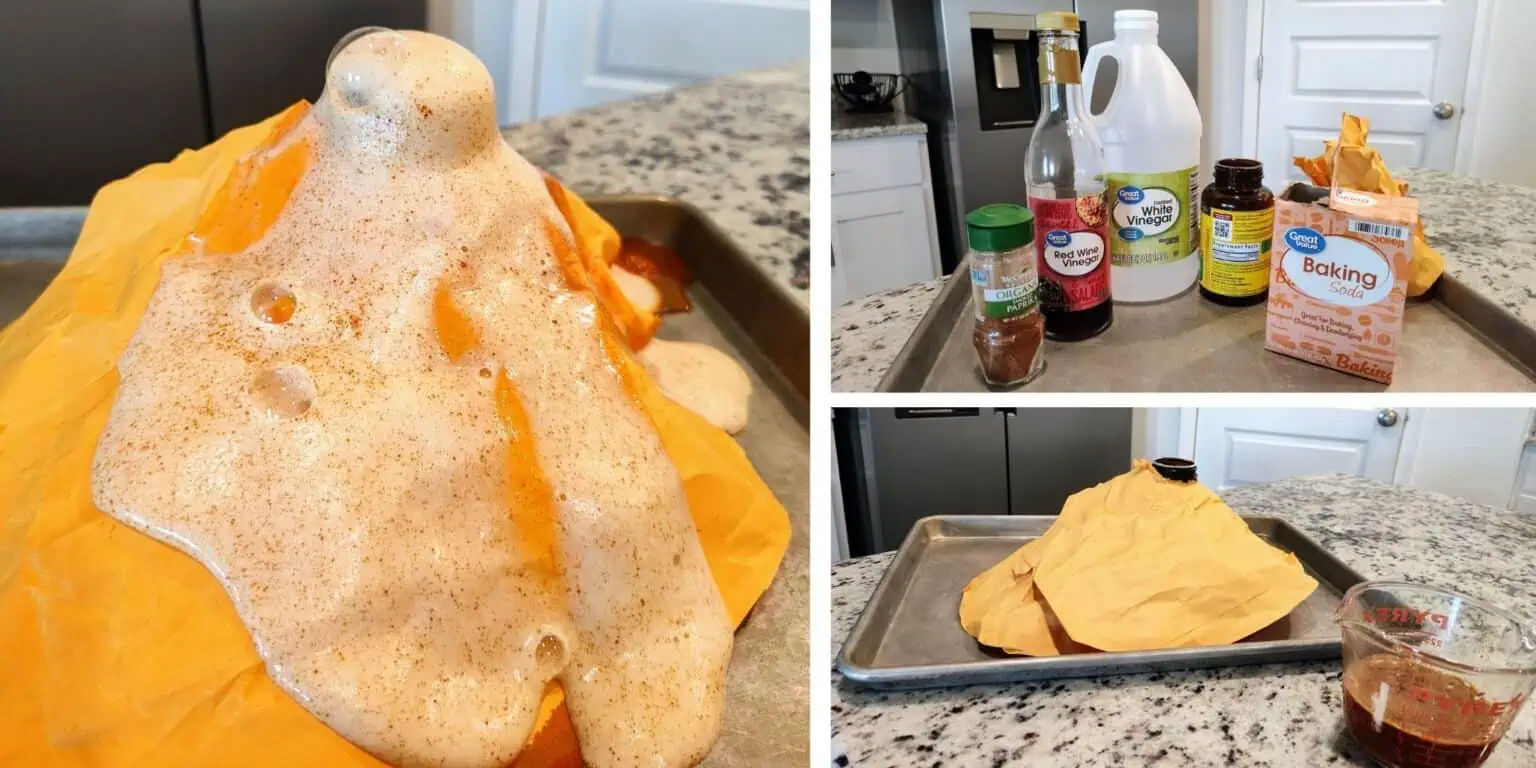
Place a plastic bottle or small cup on a tray or baking pan to catch the lava. Use paper towels or crumpled newspaper around the bottle for structure, then cover with construction paper. (I didn’t have construction paper handy so I used an old large manila envelope.)
Make either of the following volcano shapes:
- Cone volcano: Steep, pointed shape for a classic eruption
- Shield volcano: Wide, gently sloping shape for a slower, spreading lava flow
2. Decorate your volcano. (Optional)
Use colored pencils or markers to add lava lines, volcano markings, or other designs.
3. Combine the baking soda and dish soap.
Mix 1-2 TBS of baking soda with approximately 1 tsp of dish soap. Stir. Add just enough water to mix it a littler more if you’d like. (Tip: Adding the dish soap makes the resulting mixture extra frothy.)
4. Add the baking soda/dish soap mixture.
Fill the bottle with baking soda/soap mixture. This is the core of your volcano – the center where the eruption will start,
5. Add optional extras to the vinegar.
Drop in a bit of red food coloring or other primary colors to 1/4-1/2 cup of vinegar. This will make the lava fountains more colorful. The term lava fountains describes the fizzy, frothy lava flowing shooting out of the mouth of a real volcano. (I didn’t have food coloring handy so I added a little red wine vinegar and smoked paprika. Food coloring would add more color to the experiment. The smoked paprika added a little hit of smoke.)
6. Safety first.
Even though this is a safe experiment, always wear eye protection and keep your tray under the volcano. Even a classic science project can get messy, but that’s part of the fun!
7. Pour in the vinegar.
Slowly pour the vinegar directly onto the baking soda. Step back and watch your vinegar volcano erupt! The fizz is the result of a chemical reaction and the lava fountains will flow out the mouth of the volcano.
8. Observe and experiment.
Try different amounts of vinegar, leave out the dish soap, pour high speed versus slow, or make a small hole in the side for a new flow. Experiment with different types of volcano shapes and see how the eruption changes.
9. Record the results.
Write down what happens with each experiment. Which combination did you enjoy the most?
Print & Go Giveaway: Supply List & Instruction Pages
Baking Soda Volcano Supply List & Instruction Pages
Want to try this at home? Grab this ready-to-use supply list and step-by-step instructions for the fizzing eruption.
No prep, no fuss – just print it out and start experimenting. Perfect for a quick afternoon science activity.
Baking Soda Volcano Experiment Pack
Baking Soda Volcano Experiment Pack
For curious kids & teen who want to dig deeper, this Baking Soda Volcano Experiment Pack adds fun extras like prediction, reflection, and bonus challenges that turn a simple fizz into a real science adventure. Grab your copy today!
Why Your Volcano Fizzes
Here’s the science behind your eruption in a way you can explain to your kids: baking soda is a base, and vinegar is an acid. When they come into contact, they react to form carbon dioxide gas, which is the same gas you see in fizzy drinks. The gas forms bubbles in the liquid, and as more bubbles form, they push the mixture out of the container, creating the familiar fizzy lava flow.
You can also connect this to real volcano science. In a real eruption, gas and pressure build up in the magma beneath the surface. When that pressure is released, it pushes lava, ash, and gas out of the volcano’s mouth – similar in principle, though on a much larger and hotter scale!
For older kids or extra-curious minds, you can:
- Measure eruption height, distance and time: How far and for how long does the lava flow with different amounts of baking soda or vinegar?
- Experiment with ratios: What happens if you add more vinegar or more baking soda?
- Try other acids: Lemon juice or citric acid can create a slightly different reaction.
- Observe speed and frothiness: Does adding dish soap or warm water change how fast the lava flows?
This approach encourages scientific thinking, observation, and curiosity while making the chemistry tangible and fun.
Observation and Reflection
After your volcano erupts, take a moment to pause and observe:
- How far did the lava reach?
- Did the colors mix differently with each pour?
- What happens when you change the amount of baking soda or vinegar?
Encourage kids to make predictions, record their results, and maybe even draw a diagram of the eruption. Ask questions like, “Why do you think the bubbles push the lava out?” or “What do you think would happen if we changed the shape of the volcano?”
This observation, reflection, and experimentation cycle is exactly how real scientists work. Each eruption is an opportunity to learn, explore, and ask new questions.
Seasonal Variation: Puking Pumpkin
Here’s a Halloween twist. Hollow out a small pumpkin and fill it with baking soda and orange food coloring. Pour in vinegar and watch your Puking Pumpkin erupt with spooky, fizzy lava. It’s a seasonal spin on the classic experiment that adds a little holiday magic and giggles.
Springboard Learning Ideas
Ready to take your curiosity further? Here are a few missions that extend the learning:
- Mission Eruption: Research famous volcanoes like Mount Vesuvius, Krakatoa, or Mount St. Helens. Compare the size, lava flow, and impact on people and the environment. Challenge kids to create a timeline or map showing when and where these eruptions happened. And don’t forget, August 24 is Vesuvius Day, marking the eruption that buried Pompeii in 79 AD!
- Volcano Observation Journal: Keep a science journal for each experiment. Kids can note the height of eruptions, colors, fizz patterns, and any surprises. Encourage them to make predictions for the next experiment-scientists always observe first, then experiment!
- Hands-On Design Challenge: Use modeling clay or playdough to build a volcano mountain around your container. Experiment with multiple chambers or channels to see how lava flows differently depending on the volcano’s shape.
- Grab the National Geographic Ultimate Volcano Kit with a mold kit to made a more realistic volcano with grooves for the flow, pop crystals to add exciting sounds to the eruptions, real volcanic rocks and more.
Recommended Books and Resources:
- Volcanoes! by National Geographic Kids
- The Magic School Bus Blows Its Top: A Book About Volcanoes by Joanna Cole & Gail Herman
- Kitchen Science Lab for Kids by Liz Lee Heinecke
External Resources for Extra Learning
- Science Buddies: Baking Soda and Vinegar Reaction
- USGS: Volcano Watch and current news
Final Thought
There’s nothing quite like the excitement of a fizzing baking soda volcano to spark curiosity in young scientists. Whether you stick with the free Print & Go pages above or dive into the full experiment pack, the most important part is to have fun exploring, observing, and learning together. So gather your supplies, make predictions, watch and enjoy every bubbly moment – because science is always better when it’s hands-on!
You Might Also Like…
Charis King
Charis King is the owner & steward of Homeschool Giveaways, a wife whose husband lives in Heaven, and a mom of twin daughters currently attending college. She and her husband homeschooled their daughters with the belief that each person is a unique masterpiece of God – created with gifts, interests and talents. (Eph 2:10). Even though the season of homeschooling her own daughters ended a few years ago, Charis is grateful for the opportunity to support other families along their own unique homeschool journey.