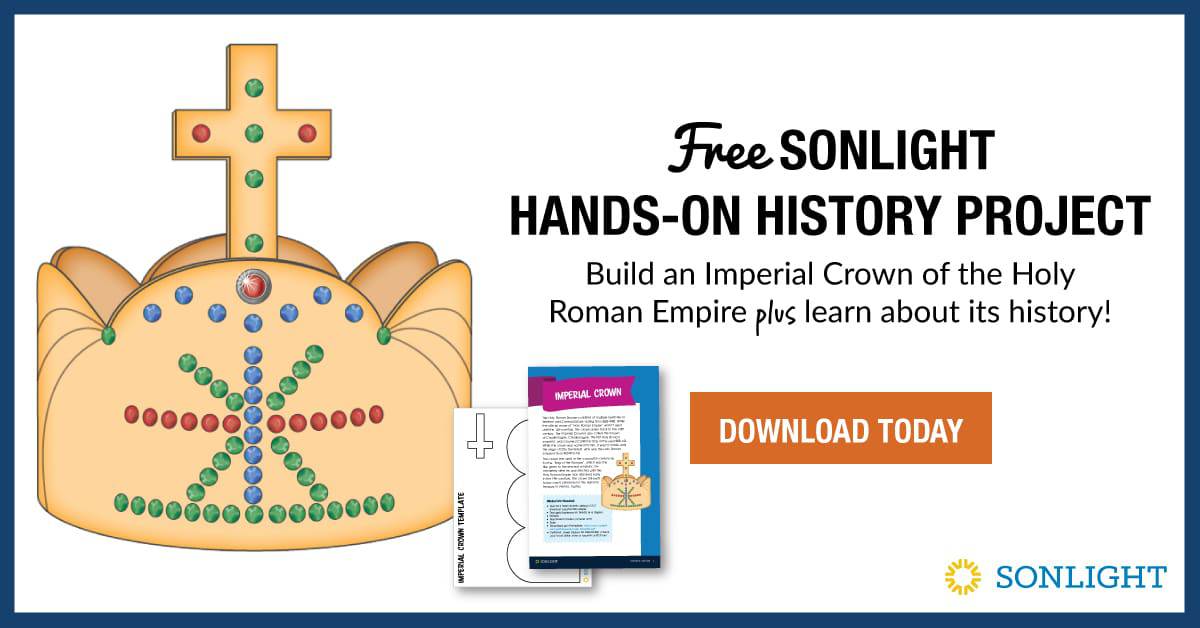
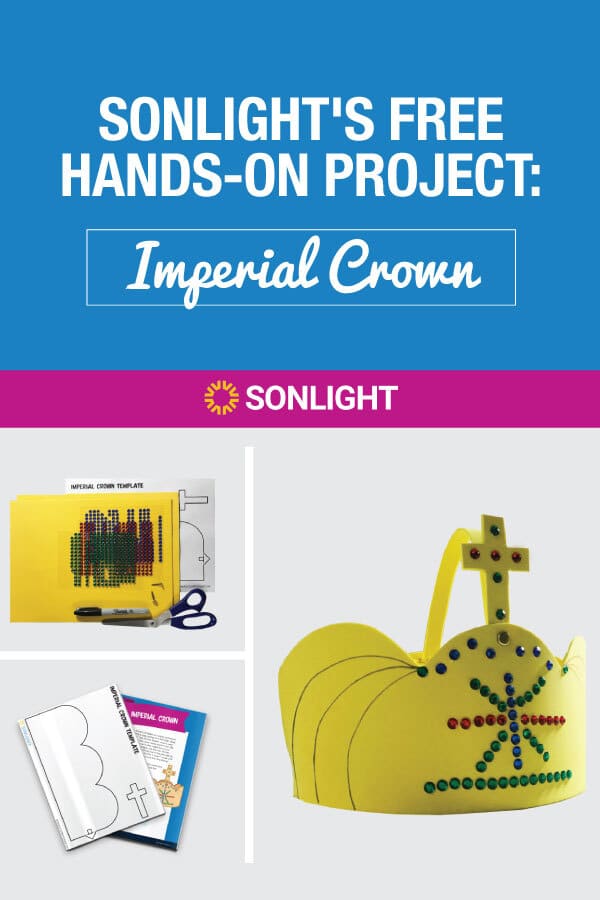
FREE Sonlight Hands-on Project: Imperial Crown of the Holy Roman Empire
Published:
May 12, 2020

Contributor:
Sonlight
Disclosure: This post may contain affiliate links, meaning if you decide to make a purchase via my links, I may earn a commission at no additional cost to you. See my disclosure for more info.
The Importance of Hands-on
Most curriculums address auditory and visual learning styles. Adding hands-on history projects to any curriculum provides the opportunity for children to learn by “doing,” or kinesthetic learning. When children learn kinesthetically, they gain a better understanding of the material because they can experiment with trial and error, and take an idea from theory into practice.
Hands-on activities can also contribute to multisensory learning. When children use all of their senses in learning, their brains form new pathways to information. These new pathways improve both recall and retention. This type of learning immerses students in a subject in order to learn about it more fully. When children are young, they learn through play and experiences, and most of their learning is done as they’re manipulating their toys and the world around them. As children grow, hands-on activities provide them with opportunities to “play” with the subjects they’re learning about in school, and allow them to connect with their history topics more deeply by infusing their own experimentation and creativity in the things they make.
With Sonlight’s Hands-on History kits, students have the opportunity to learn about history by moving and working with their hands. This can take your children’s educational experience beyond just “knowing” facts to having a real, personal experience with history. The kits are inclusive, with everything from fabric and glue dots to paint and paintbrushes. All you need are common household items like scissors and a permanent marker. Sonlight has Hands-on projects for ages 5 – 15 to help bring your history studies to life.
The History of the Imperial Crown of the Holy Roman Empire
The Holy Roman Empire consisted of multiple territories in Western and Central Europe dating from 800-1806. While the official name of the “Holy Roman Empire” wasn’t used until the 13th century, the crown dates back to the 10th century. The Imperial Crown is also called the Crown of Charlemagne. Charlemagne, the first Holy Roman emperor, was crowned Christmas Day in the year 800 AD. While the crown was named for him, it wasn’t made until the reign of Otto the Great, who was the Holy Roman emperor from 962-973 AD.
The crown was used in the coronation ceremony for the “King of the Romans”, which was the title given to the elected emperor, immediately after he was elected until the Holy Roman Empire was dissolved early in the 19th century. The crown still exists today and is preserved in the national treasury in Vienna, Austria.
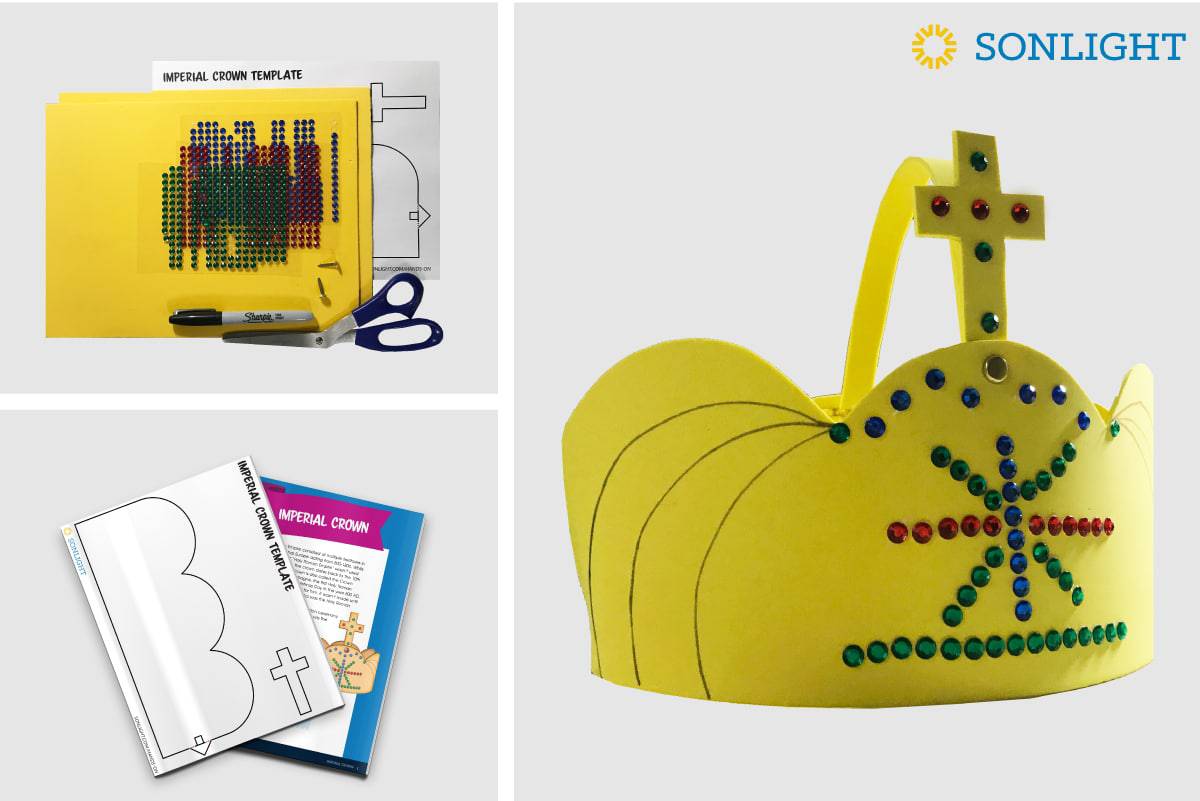
Materials You Need to Make a Crown
- Two 9×12 foam sheets (yellow) OR 2 sheets of construction paper
- Two gold fasteners (or brads) or a stapler
- Scissors
- Permanent marker (at least one)
- Ruler
- Download the template and guide
- Optional: Jewel stickers for decoration
Step by Step Directions to Creating Your Crown:
- Cut out the templates.
- Position your foam sheets in front of you lengthwise.
- With a ballpoint pen or pencil, trace the templates on the yellow foam sheets. You’ll need two large headpieces to form the body of the crown—created from the large scalloped template and arrow—and one cross. Reserve the remaining yellow foam for another part of the crown.
- For the headpieces:
- Lay the scalloped headpiece template on the foam sheet, lining up the left corner of the template with the left edge of the foam sheet.
- Position the arrow to the right of the right edge of the scalloped template. This arrow will become a dart for assembling the crown.
- Trace both pieces together to create one cohesive shape.
- For the headpieces:
- Cut out the shape.
- From the uncut edge of one of the reserved foam pieces, cut one (1) strip that is ½” wide x 10“ long.
- Using a ballpoint pen or pencil, make a 1/2” line on the uncut end of each large scalloped headpiece The line should be about 1/2” from the edge of the foam strip.
- Cut along the line using scissors. This is best done by folding the foam gently in half before you cut.
- Form a ring with your scalloped foam pieces by pulling the dart from one foam piece through the opening of the other. Place the foam crown around your child’s head to check for size. Set aside once done.
- If the headband is too large, cut a new opening 1/2” behind the first one and repeat the step.
- With the crown facing you, and the seams to the side, take one of the gold fasteners (or brads) and push it through the top of the center scallop, about ¼” from the edge.
- Line the edge of the 10” strip with the bottom of the cross.
- Position both pieces together behind the front of the crown and push the gold fastener through both. You want to minimize the amount of slack below the gold fastener, about a ¼” at most. Secure in place.
- Repeat with the back of the crown to secure just the foam strip in place, creating an arc that connects the front and back of the crown.
- Decorate the cross and center of the crown with your jewel stickers.
- Draw patterns on the other scalloped sections.
You’re done!
Sonlight
Sonlight is a complete, literature-based, Christian homeschool curriculum with every subject for students from Preschool through high school. Our curriculum uses a variety of materials to deliver an engaging and complete education that extends beyond textbooks and memorization: literary fiction and nonfiction, biographies, illustrations, and hands-on experiments. These resources come with thorough lesson plans and notes, so that you can enjoy successful homeschooling. Customers who buy from Sonlight enjoy a liberal arts education that produces critical thinkers who are ambassadors for Christ with a heart for the world. Visit us online and request a FREE catalog today!